Master Grilled Okra: Tips for Flavorful, Non-Slimy Pods
For many, the mere mention of okra conjures images of a gooey, slimy vegetable – a texture that often deters even the most adventurous eaters. But what if we told you there’s a secret to unlocking okra’s true potential, transforming it into a remarkably flavorful, crisp-tender, and completely non-slimy delight? Enter the world of **grilled okra recipe**. This simple yet revolutionary cooking method is not only easy but yields an irresistible side dish or appetizer that will convert even the most skeptical palates. Prepare to master the art of grilling okra and elevate your next backyard BBQ!
Why Grilled Okra is a Game Changer: Say Goodbye to Slime
The dreaded sliminess associated with okra primarily comes from a soluble fiber called mucilage, which is released when the pods are cut or cooked in liquid. This is precisely why boiling or stewing sliced okra often results in that less-than-desirable texture. However, the grill offers a magnificent solution.
When you cook whole okra pods over high heat, two crucial things happen:
- The intense, dry heat of the grill rapidly cooks the exterior, sealing in the mucilage before it has a chance to fully escape and become overly slimy.
- By keeping the pods whole, you minimize the surface area exposed to cutting, thus preventing the early release of the mucilage.
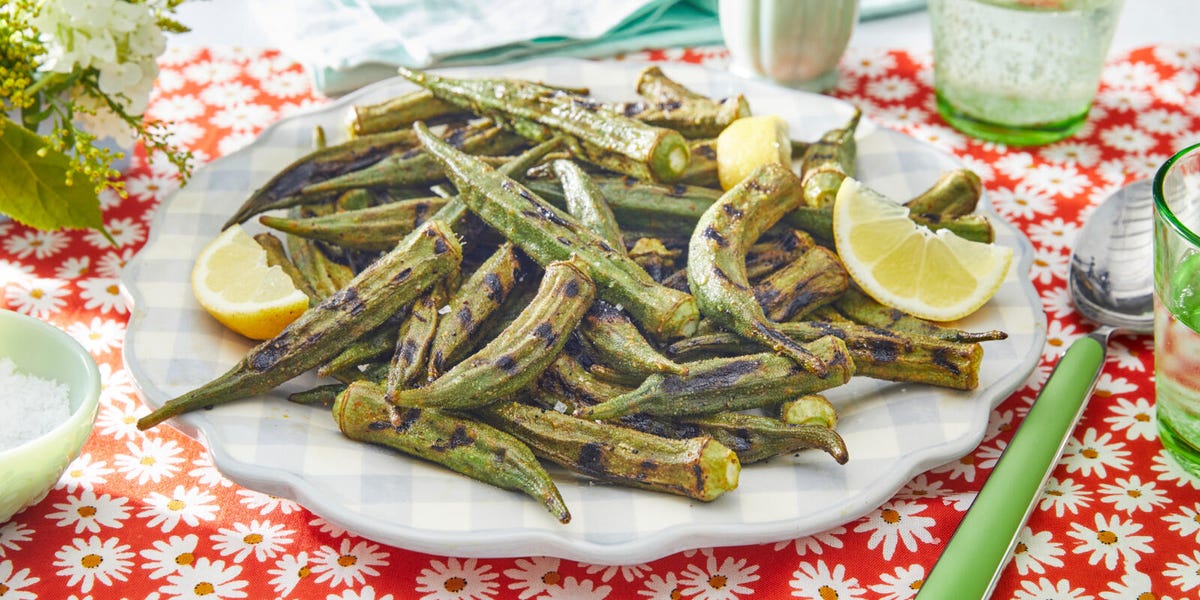
The result is nothing short of miraculous: the exterior develops a beautiful char and crispness, while the interior becomes tender and creamy without any unpleasant sliminess. Instead, you're left with an earthy, slightly sweet flavor amplified by the smoky notes from the grill. It's truly one of the most delicious ways to enjoy fresh okra, surprising even those who swear they dislike it.
The Ultimate Grilled Okra Recipe: A Step-by-Step Guide
This easy-to-follow **grilled okra recipe** requires minimal ingredients and prep, making it a perfect last-minute addition to any meal.
Ingredients You'll Need:
- 1 pound fresh okra (choose small to medium-sized pods, firm and bright green, without any black spots or softness)
- 1 tablespoon extra virgin olive oil
- 1 tablespoon white wine vinegar (or apple cider vinegar for a slightly different tang)
- ½ teaspoon granulated garlic (or garlic powder)
- ½ teaspoon kosher salt (or to taste)
- ½ teaspoon fresh ground black pepper (or to taste)
- Optional: For a spicier kick, add ¼ teaspoon cayenne pepper or a pinch of red pepper flakes.
Essential Equipment:
- Outdoor grill (gas or charcoal)
- Large mixing bowl
- Tongs for turning
- Optional: Bamboo skewers (soaked in water for 30 minutes) or a grill basket, especially if your grill grates are wide.
Step-by-Step Grilling Instructions:
- Prepare Your Grill: Preheat your grill to a medium-high heat, aiming for around 350-375°F (175-190°C). If using charcoal, ensure the coals are evenly distributed and glowing. Lightly oil your grill grates to prevent sticking.
- Wash and Dry the Okra: Thoroughly wash the fresh okra pods under cold running water. It’s crucial to dry them completely using a clean kitchen towel or paper towels. Excess moisture can steam the okra instead of charring it, affecting the texture. Resist the urge to trim the caps or tails too much, as this can expose the mucilage.
- Whip Up the Flavorful Coating: In your large mixing bowl, whisk together the olive oil, white wine vinegar, granulated garlic, kosher salt, and black pepper until well combined. The vinegar adds a bright counterpoint to the okra's earthiness and helps in the charring process.
- Season the Okra: Add the dried whole okra pods to the bowl with the seasoning mixture. Toss them gently but thoroughly, ensuring every pod is evenly coated. This even coating is key for consistent flavor and charring.
- Get Grilling: Arrange the seasoned okra directly over the preheated grill grates. If you're concerned about smaller pods falling through, thread them onto soaked bamboo skewers or place them in a grill basket. Close the lid to allow the heat to circulate and cook evenly.
- Cook and Turn: Grill for about 5 minutes with the lid closed. Then, use tongs to turn the okra, distributing them for even cooking and charring. Continue grilling for another 3 to 5 minutes, or until the pods are tender-crisp and show visible signs of charring. Don't be afraid of a little char – it adds a delicious smoky depth to the flavor!
- Serve Immediately: Once cooked to perfection, remove the grilled okra from the grill. Serve hot as an appetizer or a vibrant side dish. A final squeeze of fresh lemon juice can brighten the flavors even further.
Tips for Perfect Grilled Okra Every Time
To ensure your
Crispy Grilled Okra: Easy Recipe & No Slime! is always a triumph, consider these expert tips:
- Embrace the Whole Pod: We can't stress this enough! Grilling whole okra pods is the ultimate defense against sliminess. Avoid slicing them before grilling.
- Don't Overcrowd the Grill: Give your okra plenty of space on the grill grates. Overcrowding can lower the grill's temperature and lead to steaming rather than grilling, preventing that desirable char and crisp texture.
- Charring is Your Friend: Those slightly blackened spots aren't a mistake; they're flavor gold! The char adds a beautiful smoky bitterness that balances the okra's natural sweetness.
- Use Skewers or a Grill Basket: If you find smaller okra pods slipping through your grill grates, don't despair! Threading them onto skewers makes them easier to manage and turn. A dedicated grill basket is also an excellent investment for delicate vegetables.
- Experiment with Seasonings: While our basic **grilled okra recipe** is fantastic, feel free to get creative!
- Cajun Kick: Replace the granulated garlic with ¼ cup melted butter and ¼ cup Cajun seasoning for a vibrant, spicy variation, as some recipes suggest.
- Herbal Infusion: Add dried oregano, thyme, or rosemary to your oil mixture.
- Smoky Sweet: A touch of smoked paprika and a pinch of brown sugar can create a unique flavor profile.
- Asian Twist: Try a splash of soy sauce or tamari, a drizzle of sesame oil, and a sprinkle of ginger powder.
- The Dry Factor: Always ensure your okra is *completely* dry after washing. Water on the surface will create steam, making the okra less crispy and delaying the charring process.
Serving Suggestions & Storage
Grilled okra is incredibly versatile. It makes an outstanding side dish for almost any grilled protein – chicken, steak, fish, or even tofu. It pairs wonderfully with rice dishes like jambalaya or dirty rice, and its bright flavors can cut through richer main courses. For a simple appetizer, serve it hot with a side of lemon wedges or a light dipping sauce like a sriracha aioli. This dish truly is a
Perfect BBQ Side: Delicious Grilled Okra in Minutes!
If you happen to have any leftovers (which is rare!), store them in an airtight container in the refrigerator for up to 3 days. To reheat, avoid the microwave, which can make them soggy. Instead, coat a skillet with a small amount of olive oil and heat over medium heat. Add the grilled okra and stir gently until heated through, regaining some of its tender-crisp texture.
Conclusion
Don't let okra's undeserved reputation deter you any longer. By embracing the simple art of grilling whole pods, you can transform this humble vegetable into a culinary masterpiece. This **grilled okra recipe** offers a delightful combination of smoky flavor, tender interior, and a crisp, non-slimy exterior that will surprise and satisfy. Whether you're a long-time okra lover or a skeptical newcomer, give this method a try. Your taste buds, and your guests, will thank you!